Messages Tutorials
Add a Sermon Instructions with Church Admin
This guide will show you how to upload your MP3, MP4, or Youtube sermons to your app or website with Church Admin
Please note that all audio and video files must be no more than 400 MB (MegaBytes)
Video Instructions
Step by Step Instructions
There are two ways to add your MP3 audio files. You may upload them through Church Admin itself or with WordPress’s Media section.
Uploading through Church Admin:
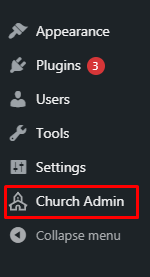
1. Log into the back end of your website. You should be in the ‘Dashboard’ area. Go down the gray menu on the left-hand side and click Church Admin.
2. In the Church Admin menu go down and click Media
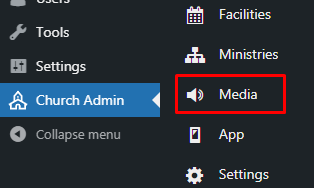
3. You should see the media files of what has already been uploaded, if you already have had some uploaded media. From there, click the Upload Sermon menu item under Media.

4. Begin to fill out the information for the sermon Title, etc. Further down there is an Mp3/M4a File where you can choose the file. This is where you will click to bring up a pop up box that will allow you to navigate your computer’s files to find and select the media file you want to add.
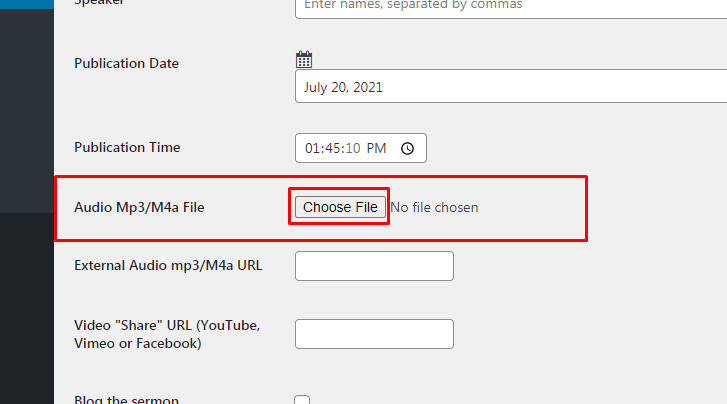
5. Scroll down from there and click Save File

Uploading through Word Press Media:
1. Log into the back end of your website. You should be in the ‘Dashboard’ area. On the gray menu on the left-hand side and click Media.
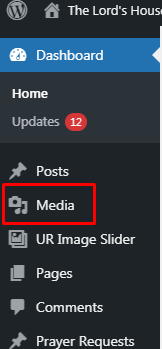
2. In Media click the Add New button

3. A dropdown will appear in a dashed box. Click the Select Files button. This will allow you to navigate your pc and choose the mp3 file you want to use.

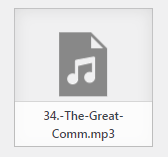
4. When the media uploads it will be the first item on the top left row of your media and will look similar to the image below with the musical note icon. Click on the item you just uploaded.
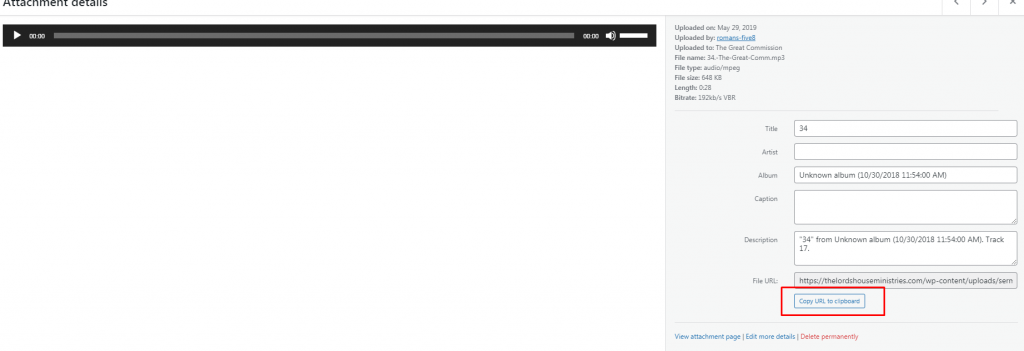
5. A box will pop up looking like the image below. Go to the bottom right and click the Copy URL to clipboard, then click the X in the upper right corner of the pop up.
6. Go down the gray menu on the left-hand side and click Church Admin.

7. In the Church Admin menu go down and click Media

8. Click the Upload Sermon menu item under Media.

9. Go to External Audio MP3/M4a URL, right click in the box to the right and paste the link you just copied. We recommend doing this before filling out the rest of the sermon information.
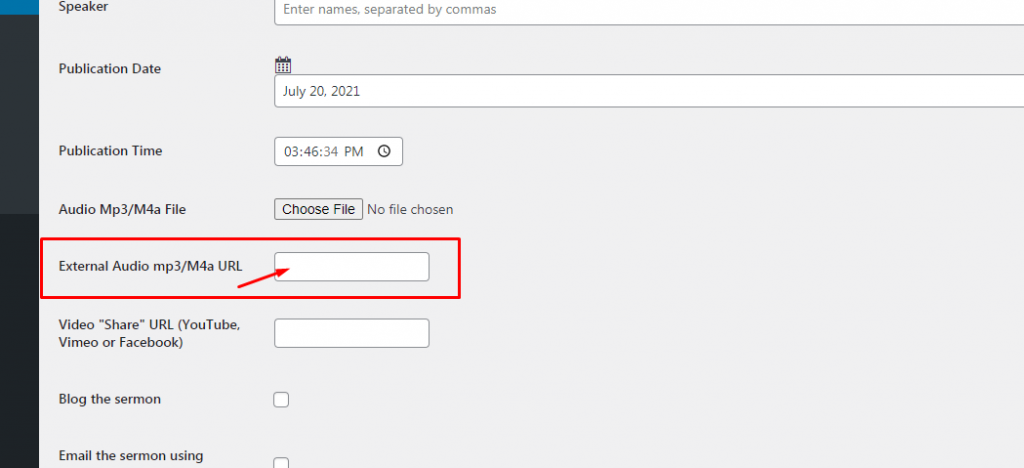
10. Once you fill out the rest of the sermon information scroll to the bottom of the page and click Save File.

Uploading MP4s to Church Admin:
For adding a Youtube video, simply copy the Youtube Video URL and then start at Step 6 once logged into the back end of your site.
1. Log into the back end of your website. You should be in the ‘Dashboard’ area. On the gray menu on the left-hand side and click Media.

2. In Media click the Add New button

3. A dropdown will appear in a dashed box. Click the Select Files button. This will allow you to navigate your pc and choose the MP4 file you want to use.

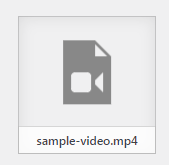
4. When the media uploads it will be the first item on the top left row of your media and will look similar to the image below with the video camera icon. Click on the item you just uploaded.
5. A box will pop up looking like the image below. Go to the bottom right and click the Copy URL to clipboard, then click the X in the upper right corner.

6. Go down the gray menu on the left-hand side and click Church Admin.

7. In the Church Admin menu go down and click Media

8. Click the Upload Sermon menu item under Media.

9. Go to Video “Share” URL (YouTube, Vimeo or Facebook), right click in the box to the right and paste the link you just copied. We recommend doing this before filling out the rest of the sermon information. This is also the location that you may paste the share link of any Youtube Video sermon you have.
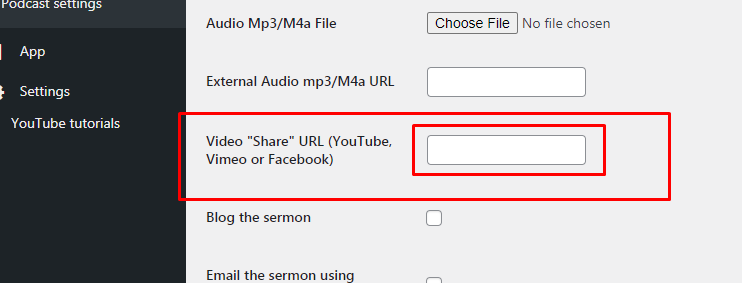
10. Once you fill out the rest of the sermon information scroll to the bottom of the page and click Save File.

