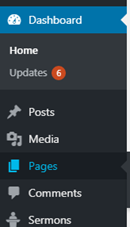
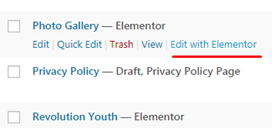
Scroll down on the list of pages and choose the title for your gallery. It should be something along the lines of “photo gallery”
Hover over the title and click on the choice “edit with elementor”
This will load your photo gallery page just as it looks on the front end of your website.
Click within the gallery itself and the left side menu for the gallery will appear
To add a new photo, click either within the images on the left side menu or click the “add image” button. (your options will depend on your template)
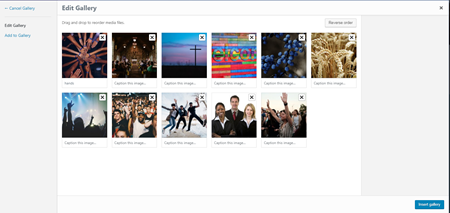
Doing so will pull up your image gallery where your current photos reside
You can drag and drop your new images into this section or you can click the “add to gallery” blue text on the left side of the screen.
Once you have uploaded the images click the blue “insert to gallery” option on the bottom right side of the gallery menu.
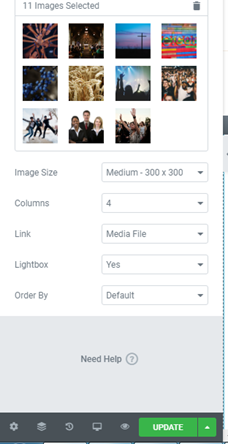
Your images will load into the gallery and appear on both the left side menu and on the right side of the screen. To flush the new images to the front of your site click the (now) green “update” button on your left side menu.
To delete images from the gallery, follow the same steps but instead of uploading a new image when you click within the gallery, you can click the “X” in the upper right hand corner of the image you want to remove. Click the insert button and follow the remaining steps.